How to integrate Zapier and File Request Pro
- What is Zapier?
- What is File Request Pro?
- What can I do with Zapier + File Request Pro?
- Connecting Zapier to File Request Pro
- Set up FRP to send the information to Zapier
- Test your web hook
- Setting Up an Action
- Adding a Filter
File Request Pro can be integrated with Zapier, this article explains how to get data flowing from File Request Pro to Zapier.
Table of Contents
- What is Zapier?
- What is File Request Pro?
- What can I do with Zapier + File Request Pro?
- Connecting Zapier to File Request Pro
- What Can You Do With a Web Hook?
- Test your web hook
- Setting Up an Action
- Adding a Filter
What is Zapier?
Zapier is an amazing tool that acts as “glue” between 2000+ different apps. Think of it as an automated and highly configurable import/export tool. You can export data from one place, send it to another, and perform different actions on that data.
What is File Request Pro?
Use File Request Pro to collect and receive file from anyone in a quick, simple and secure way.
What can I do with Zapier + File Request Pro?
Zapier + File Request is a powerful way of using the File Request API without writing code. Using the File Request Zapier integration, you can send data from File Request Pro to thousands of different apps, and you can also instantly perform actions when File Request receive files.
Furthermore, you can send new File Request invites emails from data in your CRM, Support System, Etc.
Triggers
A trigger is an event that starts a Zap. Once you’ve set up a Zap, Zapier will monitor for that trigger event.
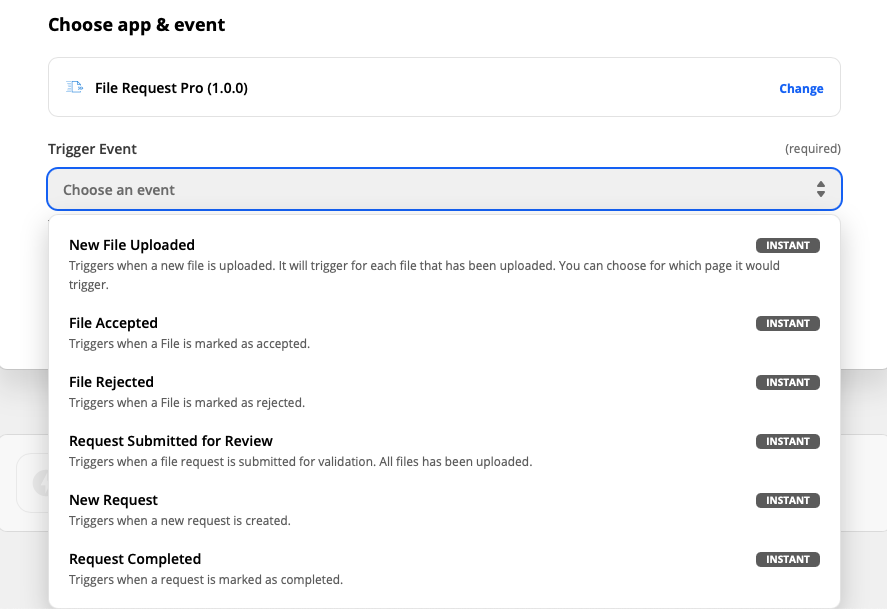
File request offers the following triggers
- New File uploaded Triggers each time a new file is uploaded into your page
- New Request Triggers when a new request is created.
- Request Submitted for Review Triggers when a file request is submitted for validation. All files have been uploaded.
- Request Completed Triggers when a request is marked as completed.
- File Accepted Triggers when a File is marked as accepted.
- File Rejected Triggers when a File is marked as rejected.
Actions
After you set up your Zap trigger, the next step is to add an action to your Zap. An action is an event your Zap performs when your trigger event occurs.
File request offers the following actions
- Create File Request Creates a new File Request and send the initial invite email and subsequence email reminders.
This action is useful to, for example: Send File Request directly from your CRM or project management software.
Connecting Zapier to File Request Pro
To authenticate with Zapier later, you will need your Project API Key. From your settings screen, click on the API menu.
Give your new API key a name and click the “Create” button.
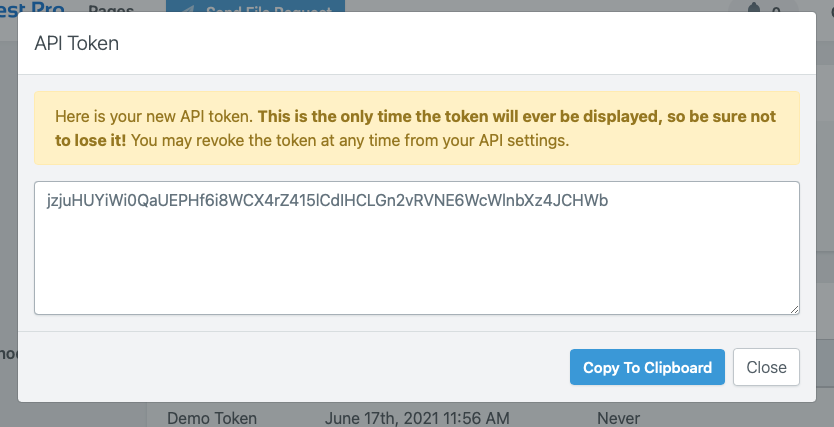
Copy the API key to your clipboard to use later.
Creating a new Zap in Zapier
Let's do this step by step.
Create your Zapier account here. If you already have one, log in here.
To be able to connect File Request Pro, please enable the integration by visiting the following link
Once logged in, click the MAKE A ZAP button at the top of your screen.
You can now select or search for a trigger app. In here, you can search for “File Request Pro”.

{info} Can't find File Request Pro?
Please follow click the following link to enable File Request in your zapier account
Enable File Request Pro in Zapier
At this point you should be at step 1 and the sub-step should be: Choose Trigger:
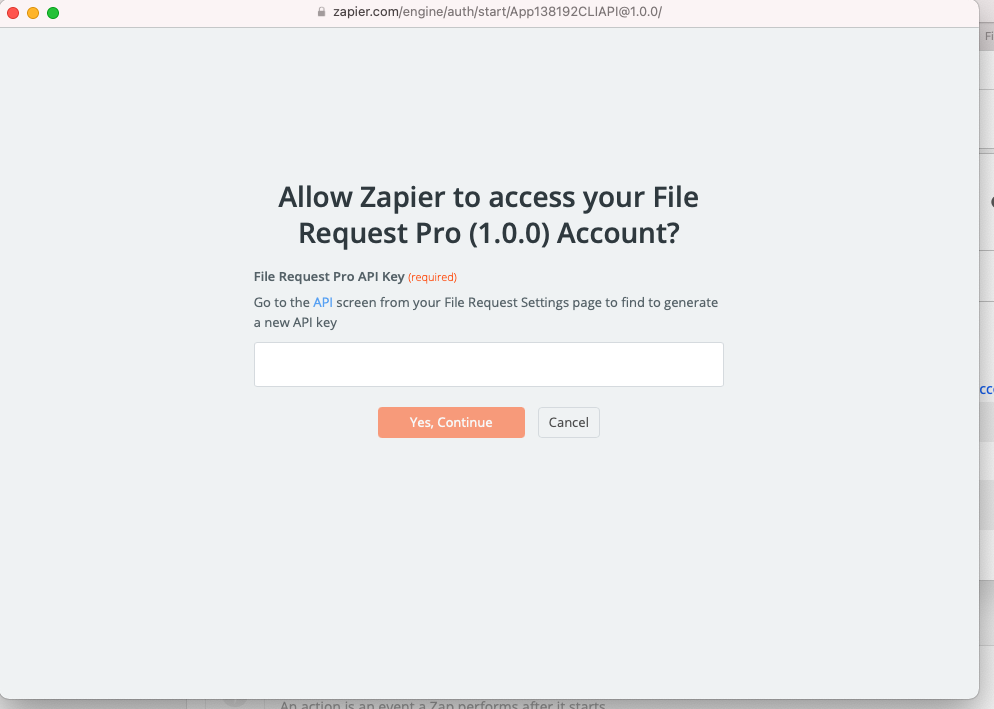
After choosing the trigger, you need to connect your File Request Pro account. To do so, enter the API key you generate before.
The File Request Pro - Zapier integration let you specify which of your upload pages will trigger this action. To choose one, please select one from the dropdown.
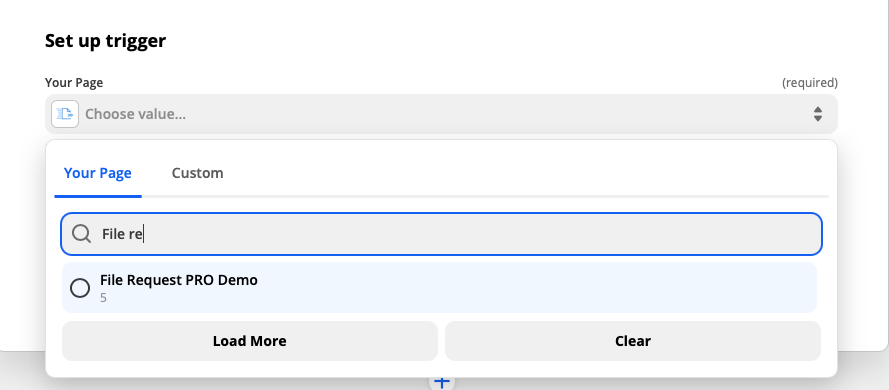
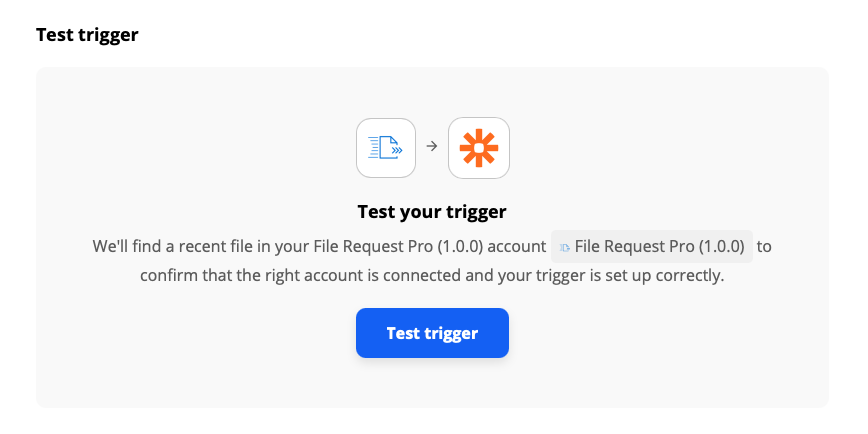
After choosing the page, you can click the “Test Trigger” button to view an example data of the last file that was uploaded to your page.
Setting Up an Action
Now that we have the trigger fully established and configured correctly, we need to set up an action that will occur when your form is submitted. More specifically; we need to establish where this data will be sent.
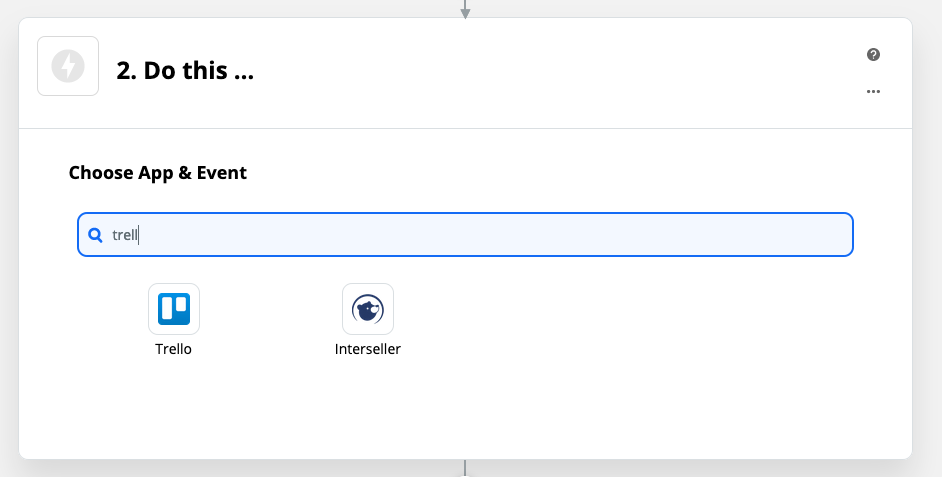
After the last step, you should see in Zapier the chosen an Action App screen. For this example, we're using the third-party app Trello. You'll want to click on the icon for the app you'll be using for your action.
After connecting your Trello account, you will be prompted to set up the action. In this example, we are adding a new card with the form information.
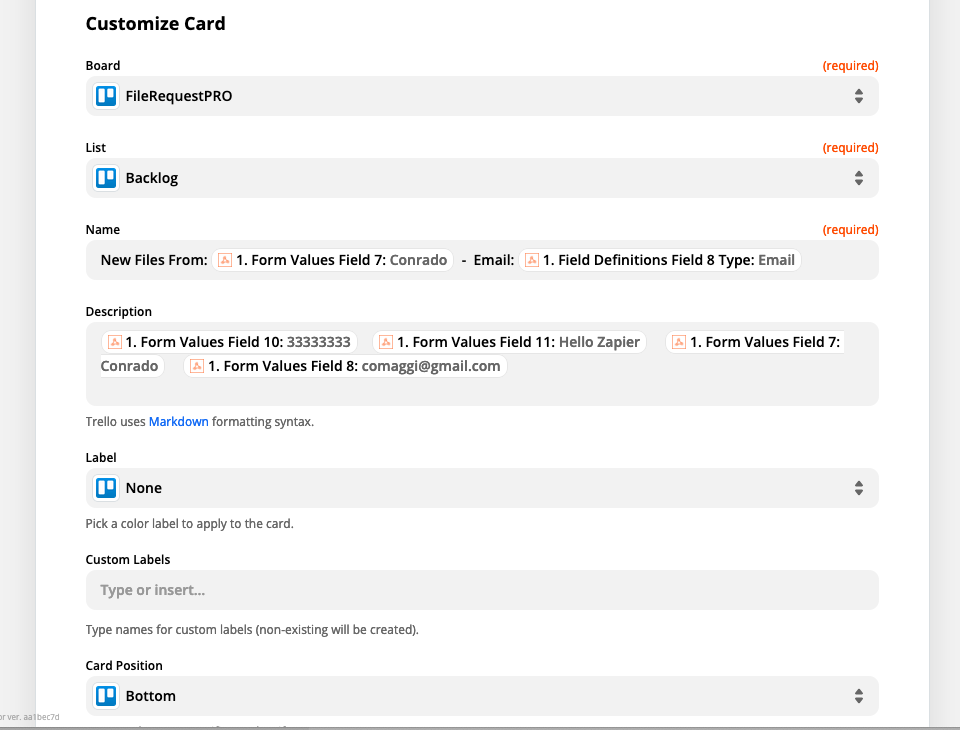
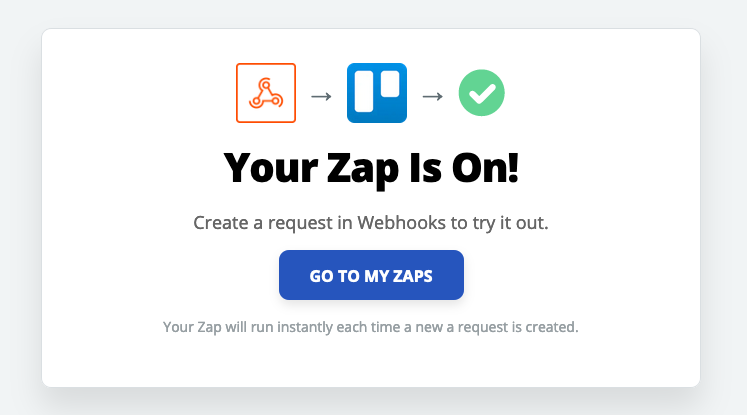
After setting everything up, our ZAP is ready! Each time someone uploads a file to, a new card is created in Trello.