GoDaddy doesn’t have a file upload field that you can add to forms. It mainly supports email marketing collection forms, so for any other type of form you’ll need to use a plugin or software that integrates with GoDaddy websites.
File Request Pro is a file upload tool that integrates with GoDaddy and provides secure and customizable forms with upload functionality.
 File Request Pro and GoDaddy – customisable forms with upload functionality
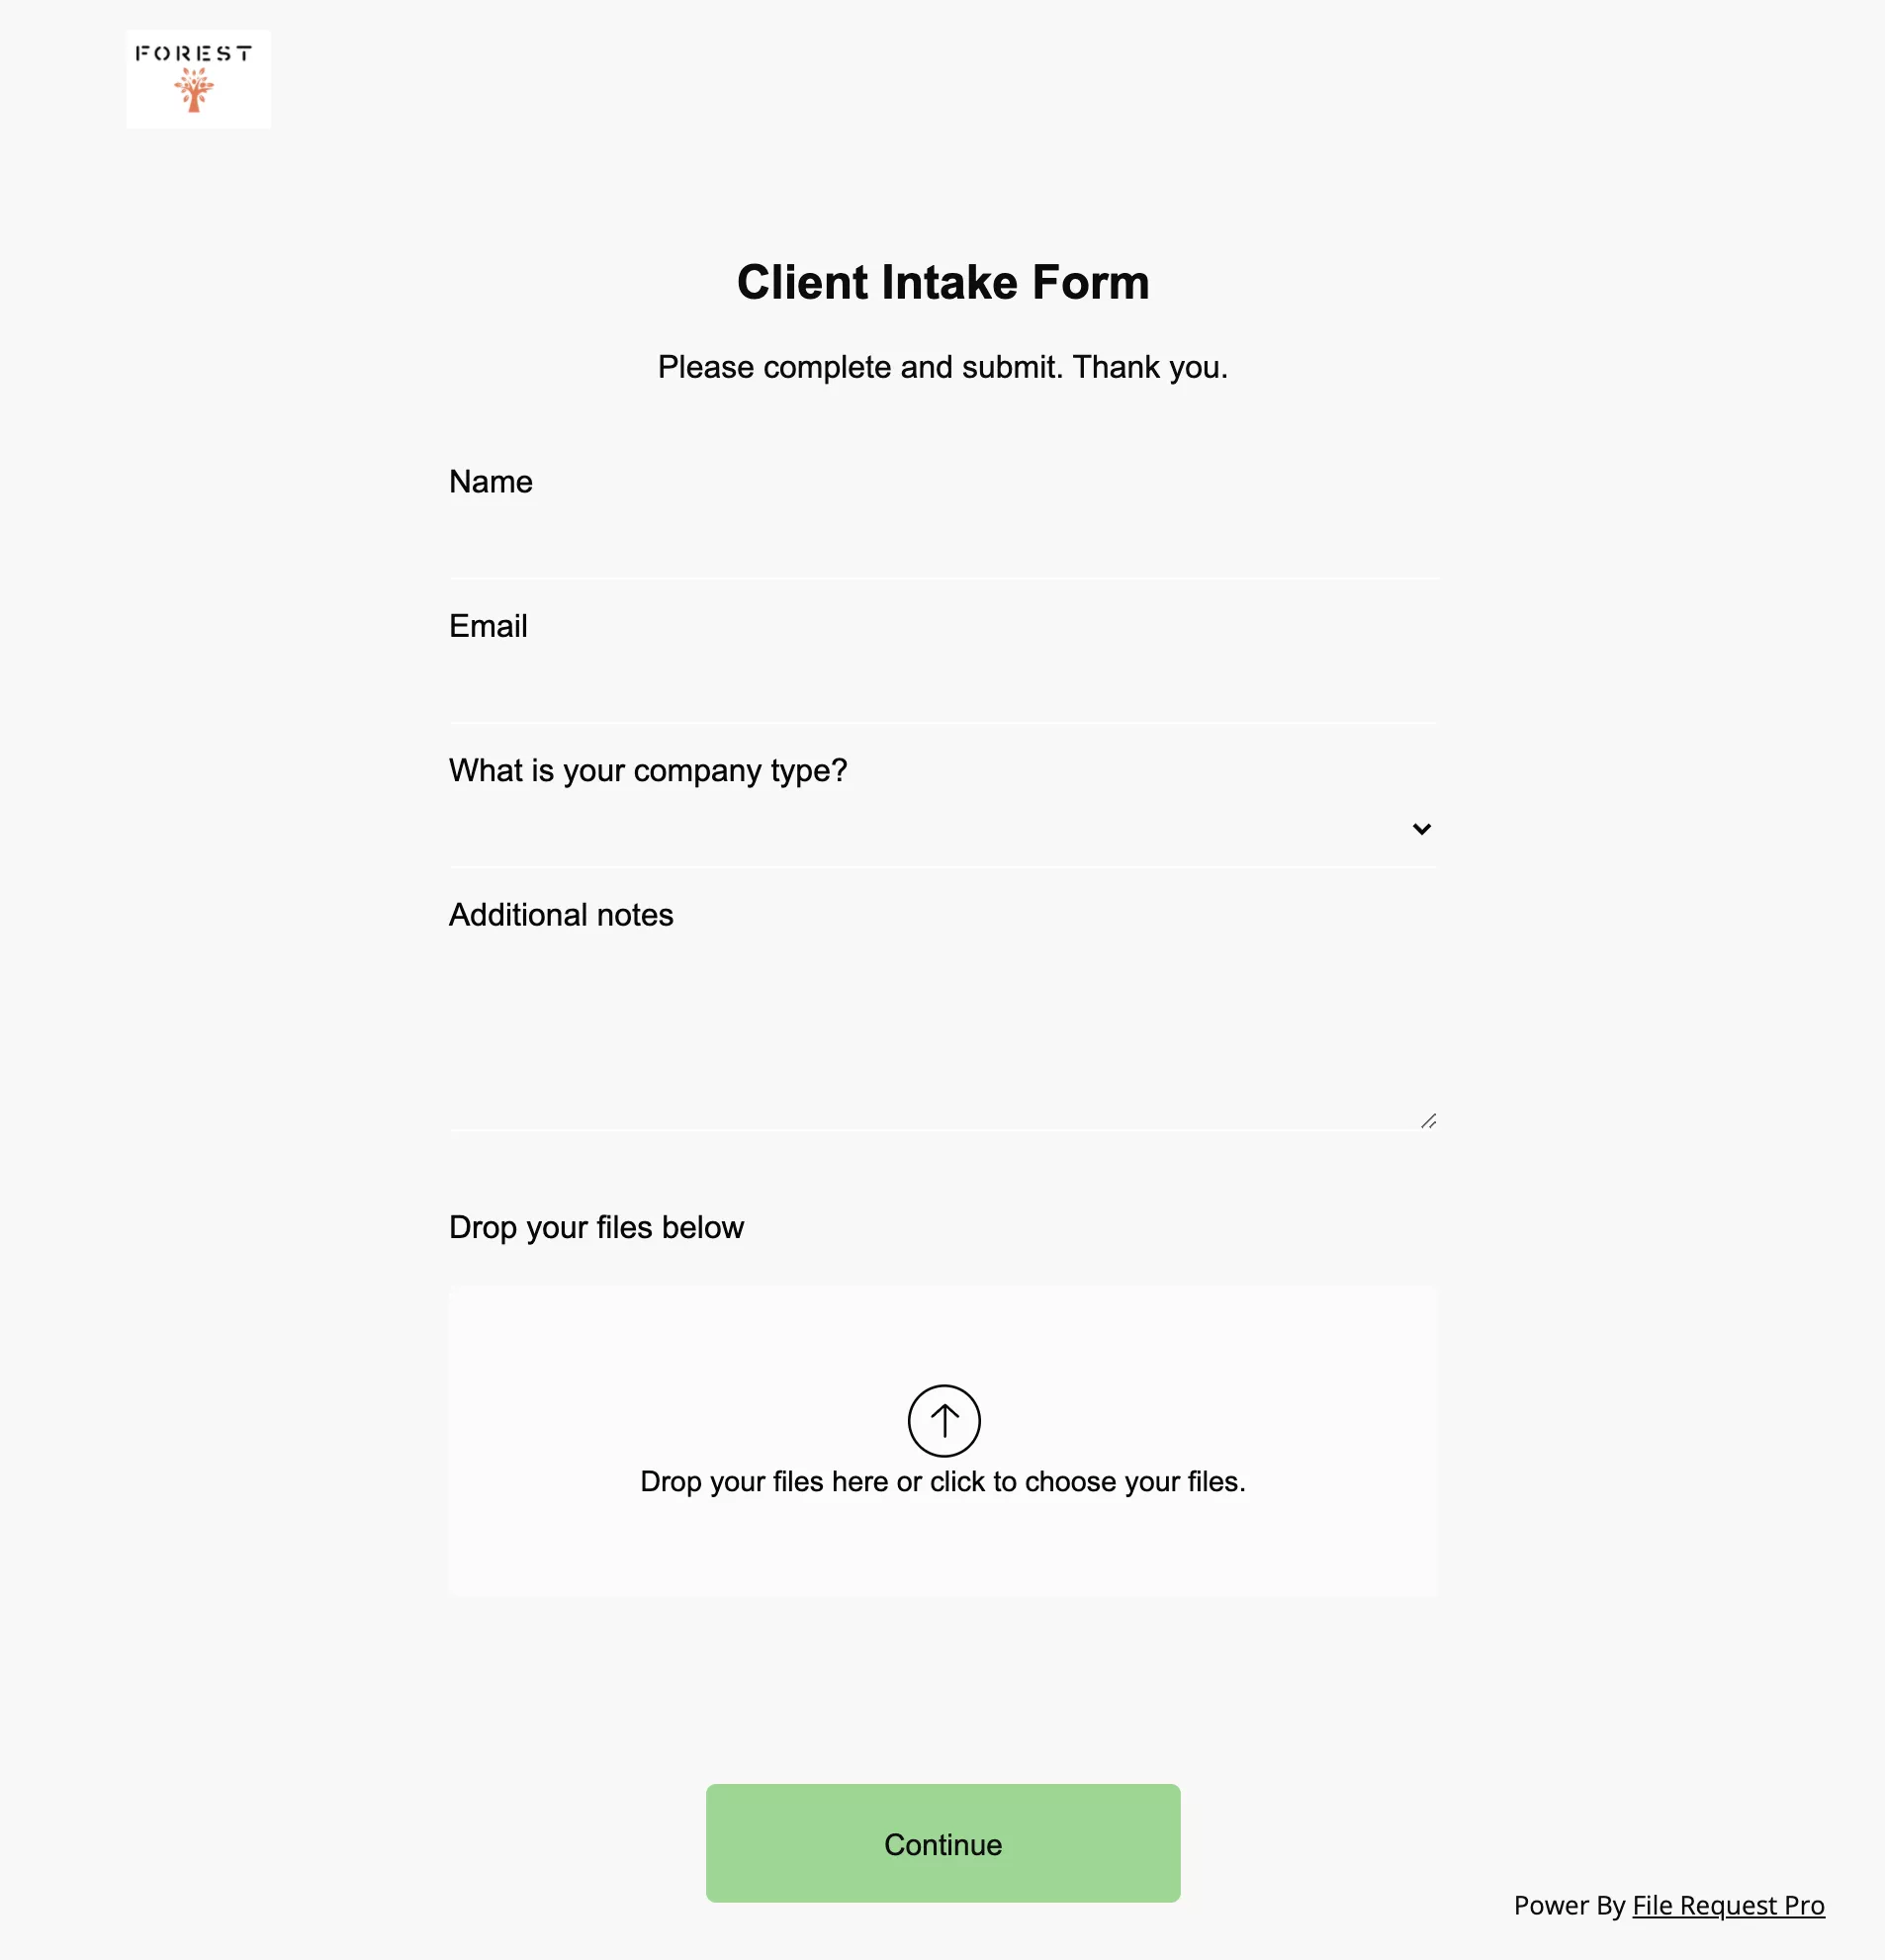
File Request Pro makes it easy for you to collect content and files from your clients. You can choose from a selection of form fields, including date, dropdown, checkbox, and so on. The file upload option is an integral part of the design of the form, and is easy for your clients to use. They can just drag and drop files.
You can also white-label the upload form so it looks professional and trustworthy, and guides clients to upload the correct information. You can choose whether to create a one-page form or a multi-page form.

Send files direct to your cloud storage
With File Request Pro you can easily collect content and documents from your clients. They don’t need to sign in or use specialist software.
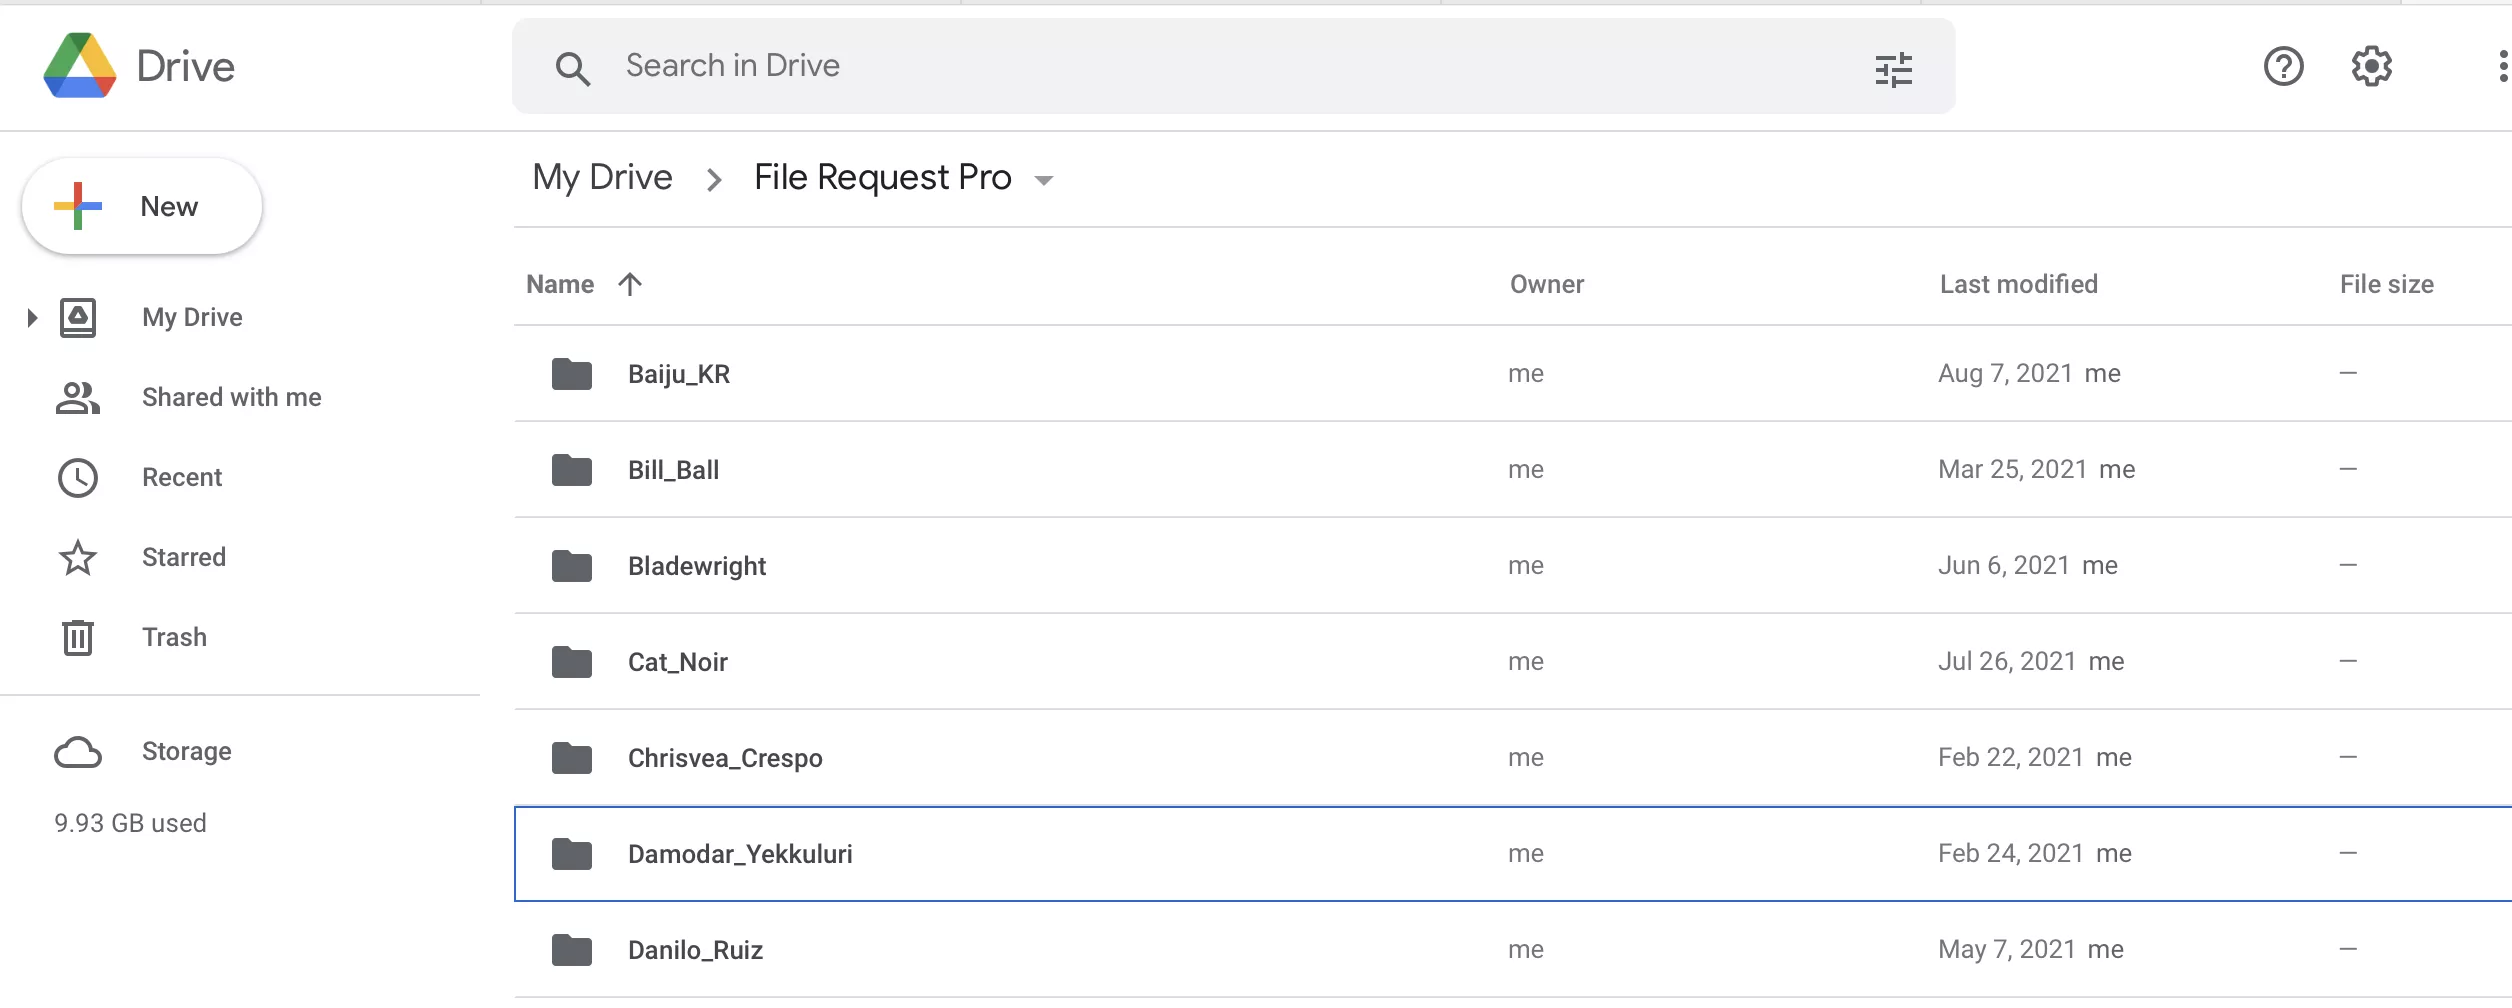
You can also automate the most time-consuming parts of file collection: processing and organising files. File Request Pro natively integrates with Dropbox, Google Drive, OneDrive and SharePoint. So you can automatically send files to your cloud storage.
You can choose to send files direct to a folder in your client’s name. This works whether you have a few clients or hundreds, saving hours of your time.

Security and File Request Pro
All files and content are sent over a secure connection. Our at rest and in transit encryption ensures that messaging, data and file transfers are secured to the latest global standards.
Email or plugins rarely offer the same level of security.
Adding a file upload form to your GoDaddy site
Start by getting your embed code as described here.
Step 1: Decide where to display your upload form
Sign into your GoDaddy Website Builder dashboard, click Edit Site and navigate to the page where you wish to display the upload form. Create a new page just for your form or include it on your home or contact pages.
Step 2: Insert widget code
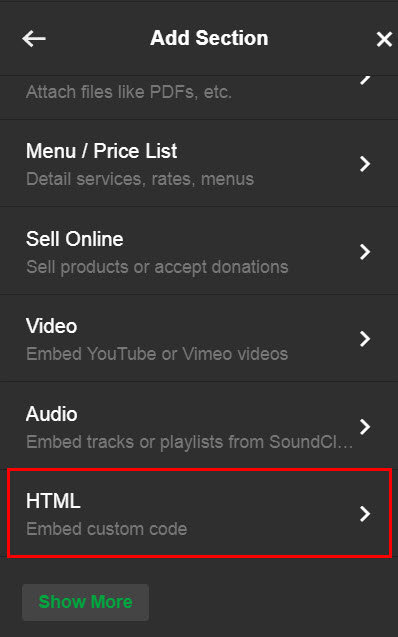
Click to add a new section on the page where you want your form to appear. Select ‘HTML’ as the section type.

Copy and paste the upload form widget code into the Custom HTML box and click ‘Done’. Your upload form should instantly appear in that area.
Step 3: Publish the site
Click Publish in the top-right corner to save the changes.