Microsoft Power Automate (formerly know as Microsoft Flow) enables File Request Pro to send your submissions data to other applications via Webhooks.
Microsoft Power Automate is an automation tool that allows you to integrate applications. In this example, we will walk through how to create a new entry on a SharePoint list for each submission on File Request Pro.
NB – While you can use a webhook without an upgraded account, you need a premium account (currently ~USD10 per month per user) to send a webhook response.
Integrating File Request Pro and Power Automate.
To set up a webhook, you need to go to Create and select ‘Build an Instant Flow’. You now want to choose, ‘When an HTTP request is received’.
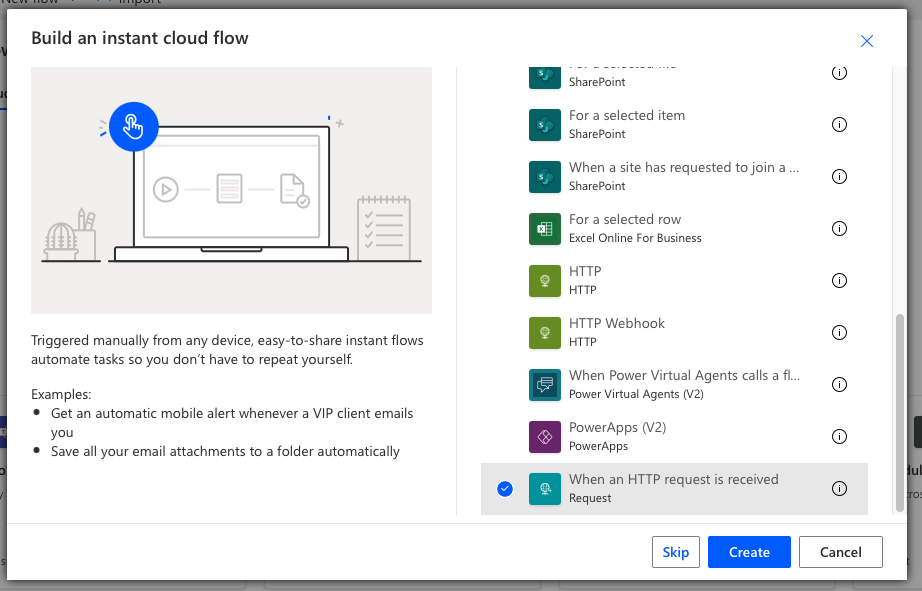
Click create, and you will have your first trigger step created. You now need to add an action step. You need to add a response as shown below.
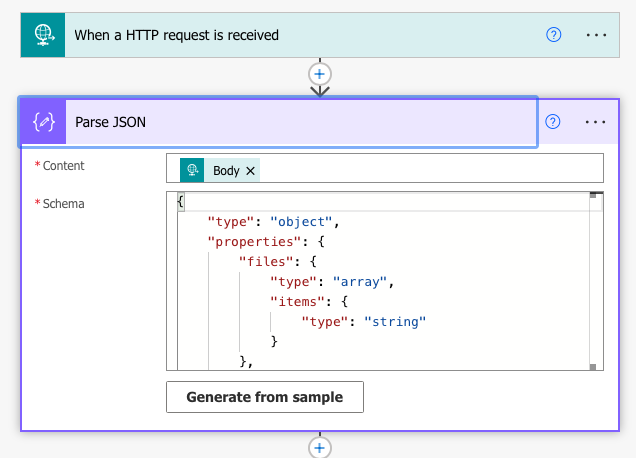
Click Add an Action. Select Parse JSON. For Content, select Body from the list. For Schema, paste the JSON from your page as explained here.
Adding new submissions to a SharePoint List.
Click Add an Action and search for SharePoint List, finally, click “Add Item”.
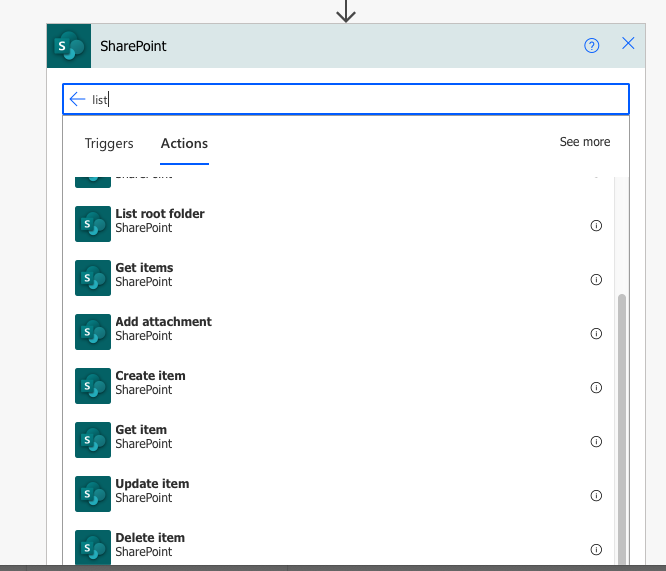
You need to choose your SharePoint site and then a List within that site to choose how to map each form field to your list columns.

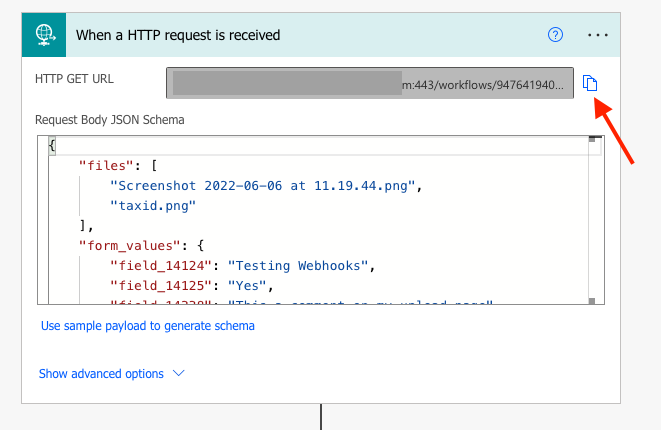
Click Save to save your Flow. Once saved, go back to the first tile. The URL for the HTTP POST will be generated. Copy the URL.
In File Request, Pro, create a new Webhook under your page integration link as described in here
