You can automate file collection with File Request Pro in a few minutes. Files and content from your clients go directly to the correct root folder on your cloud drive, organized into subfolders by whatever form field you choose.
File Request Pro integrates natively with GoogleDrive, Microsoft OneDrive and SharePoint, and Dropbox. To integrate with other cloud drives you can use Zapier.
How to automate file collection – step by step
By using dynamic file organization you can save hours of time on the low-value task of data organization. This frees you up to concentrate on core tasks.
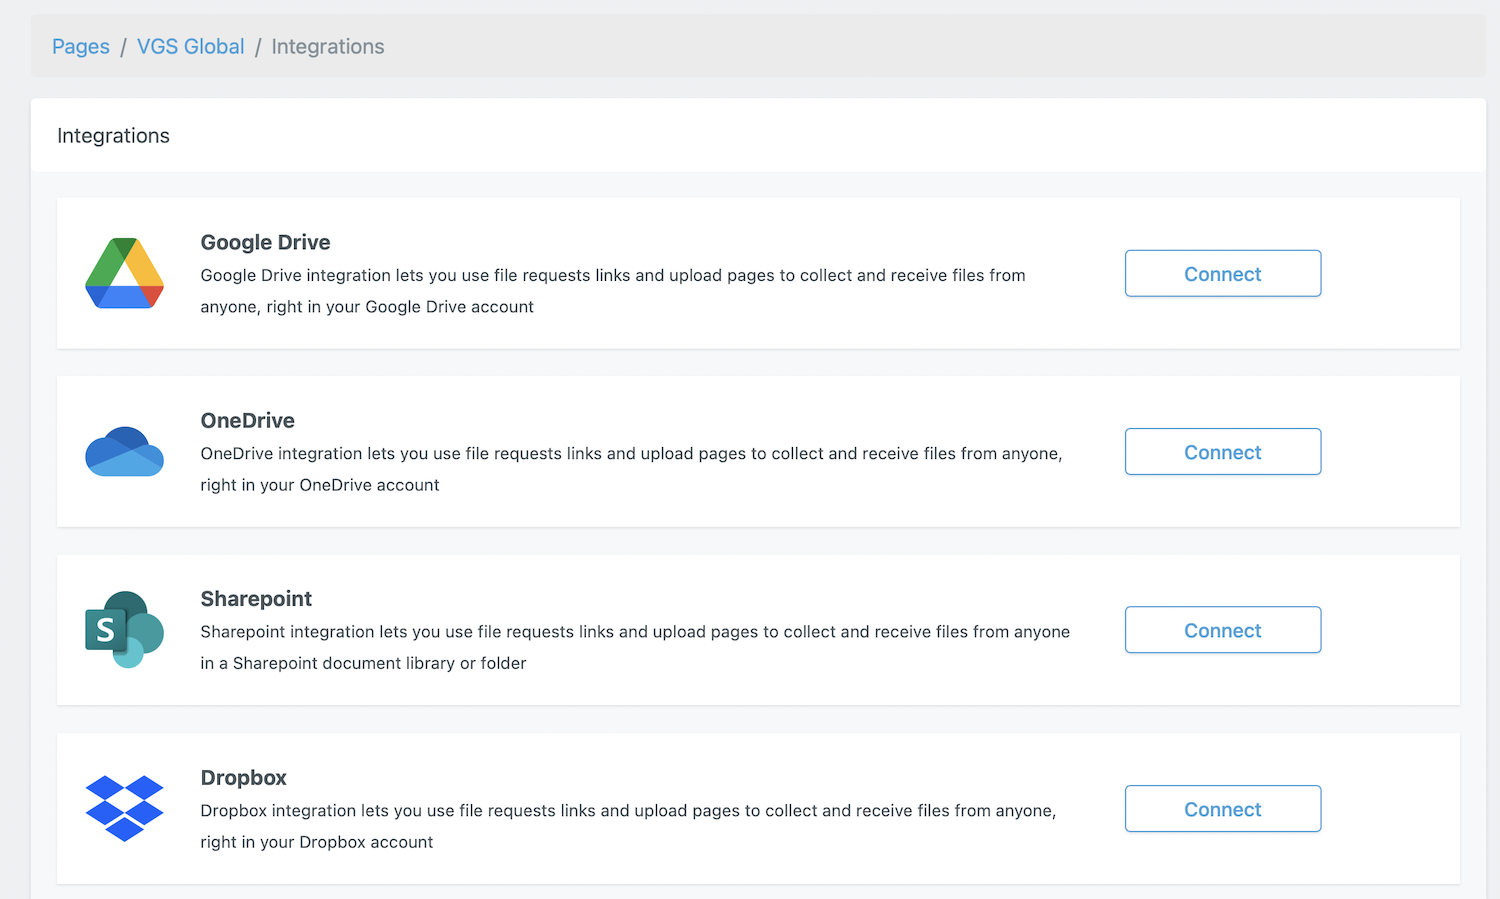
1. If you haven’t already, connect File Request Pro to your cloud drive
You can integrate your page with Google Drive, OneDrive, SharePoint, and Dropbox.
2. Choose the folder to receive the files.
In the Cloud Drive integration settings screen you can choose in which folder the uploaded files will be stored.
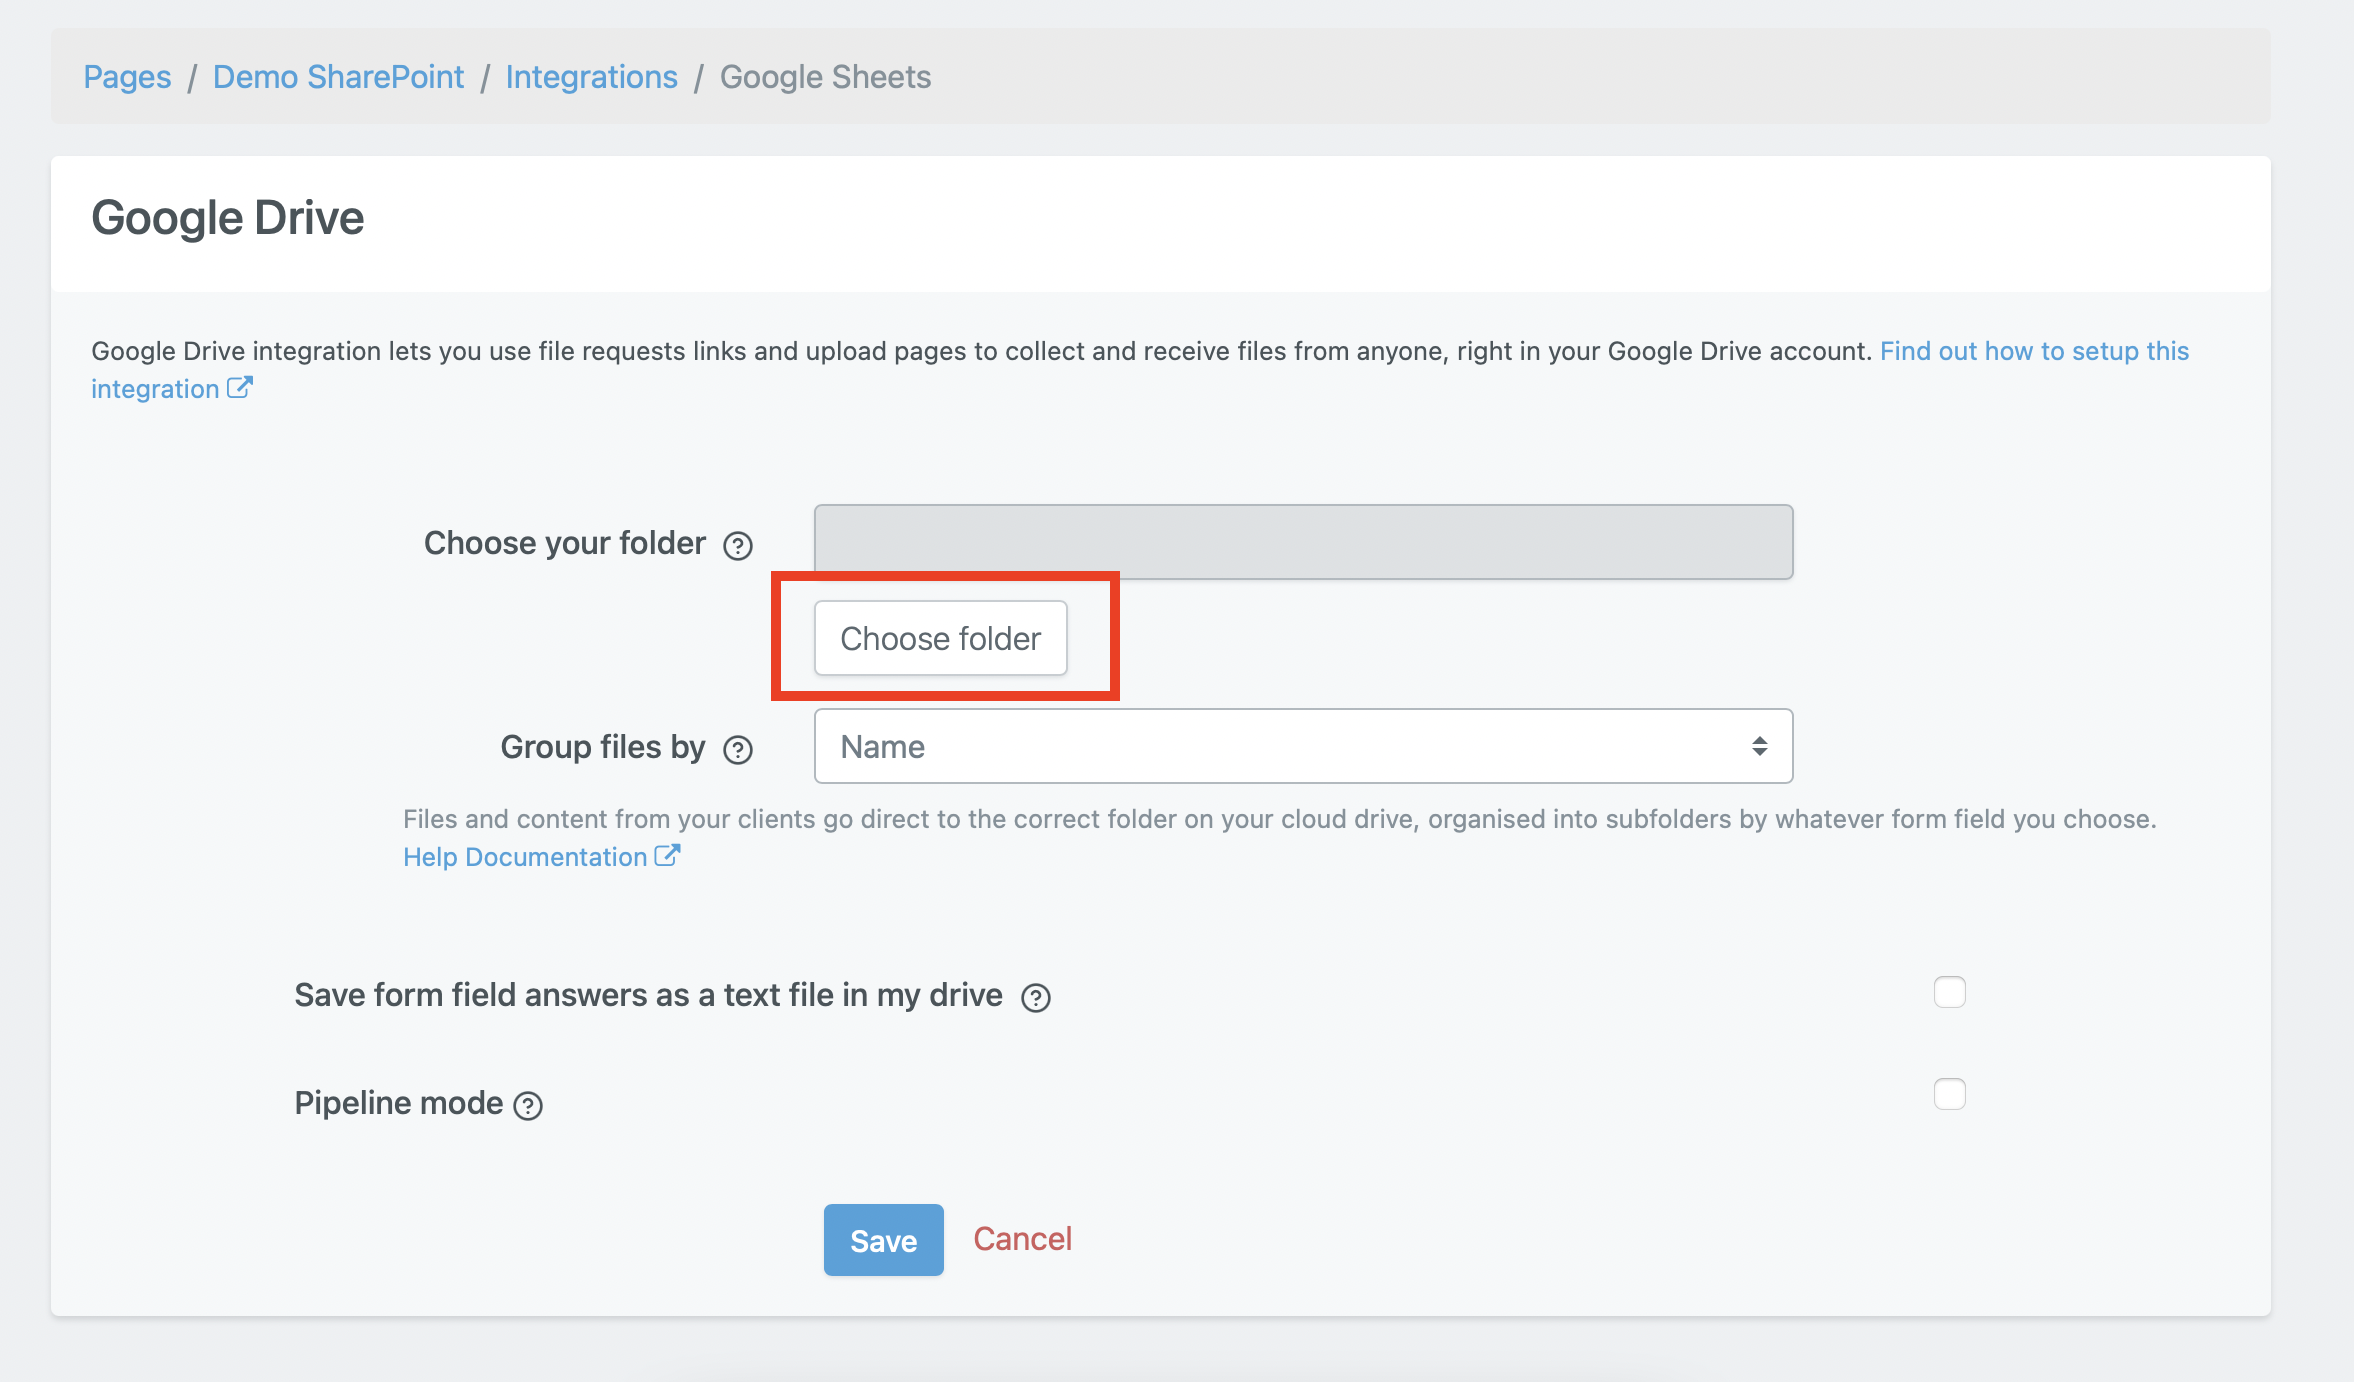
3. Choose your root folder
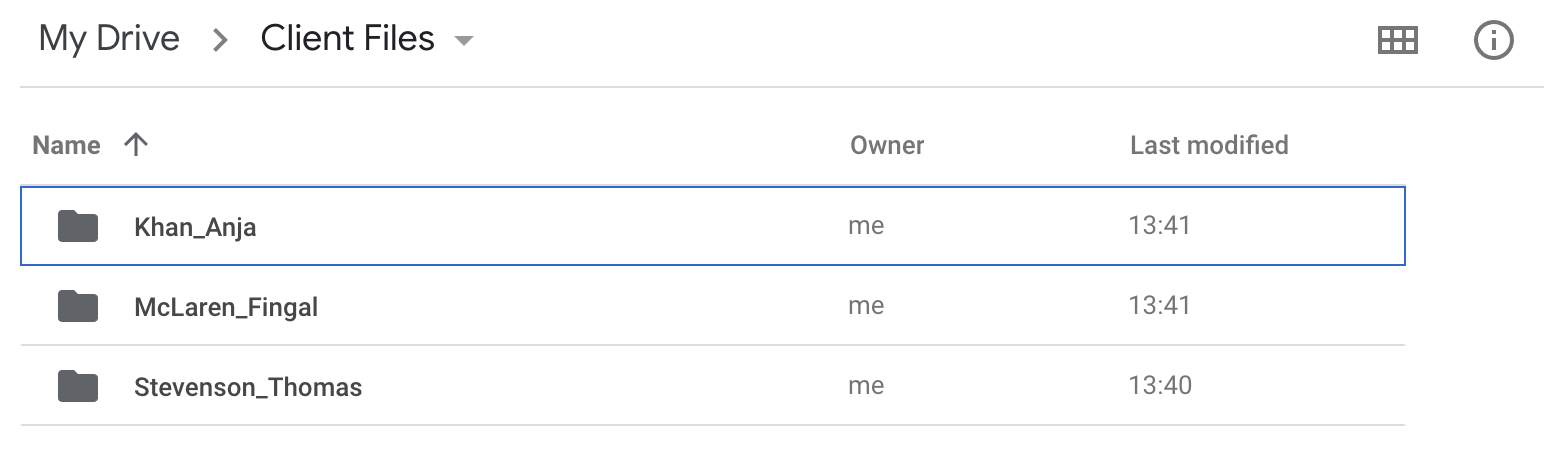
For example, if you already have a root folder called ‘Client Files’, which contains a folder for each of your clients, then this would be a useful choice.

If you don’t already have a root folder for client files, we can automatically create one for you. We’ll call it File Request Pro, and you can rename it. If you’d like us to create a root folder for you, then leave the root folder option blank.
4. Choose the field value you want to use to create subfolders within your root folder.
You can choose these field values:
- Text
- Multiple choice
- Hidden
Example of using a field value to organize client data
This upload page has one date field, two text fields (name and address), one email field, one dropdown field, and one upload field.
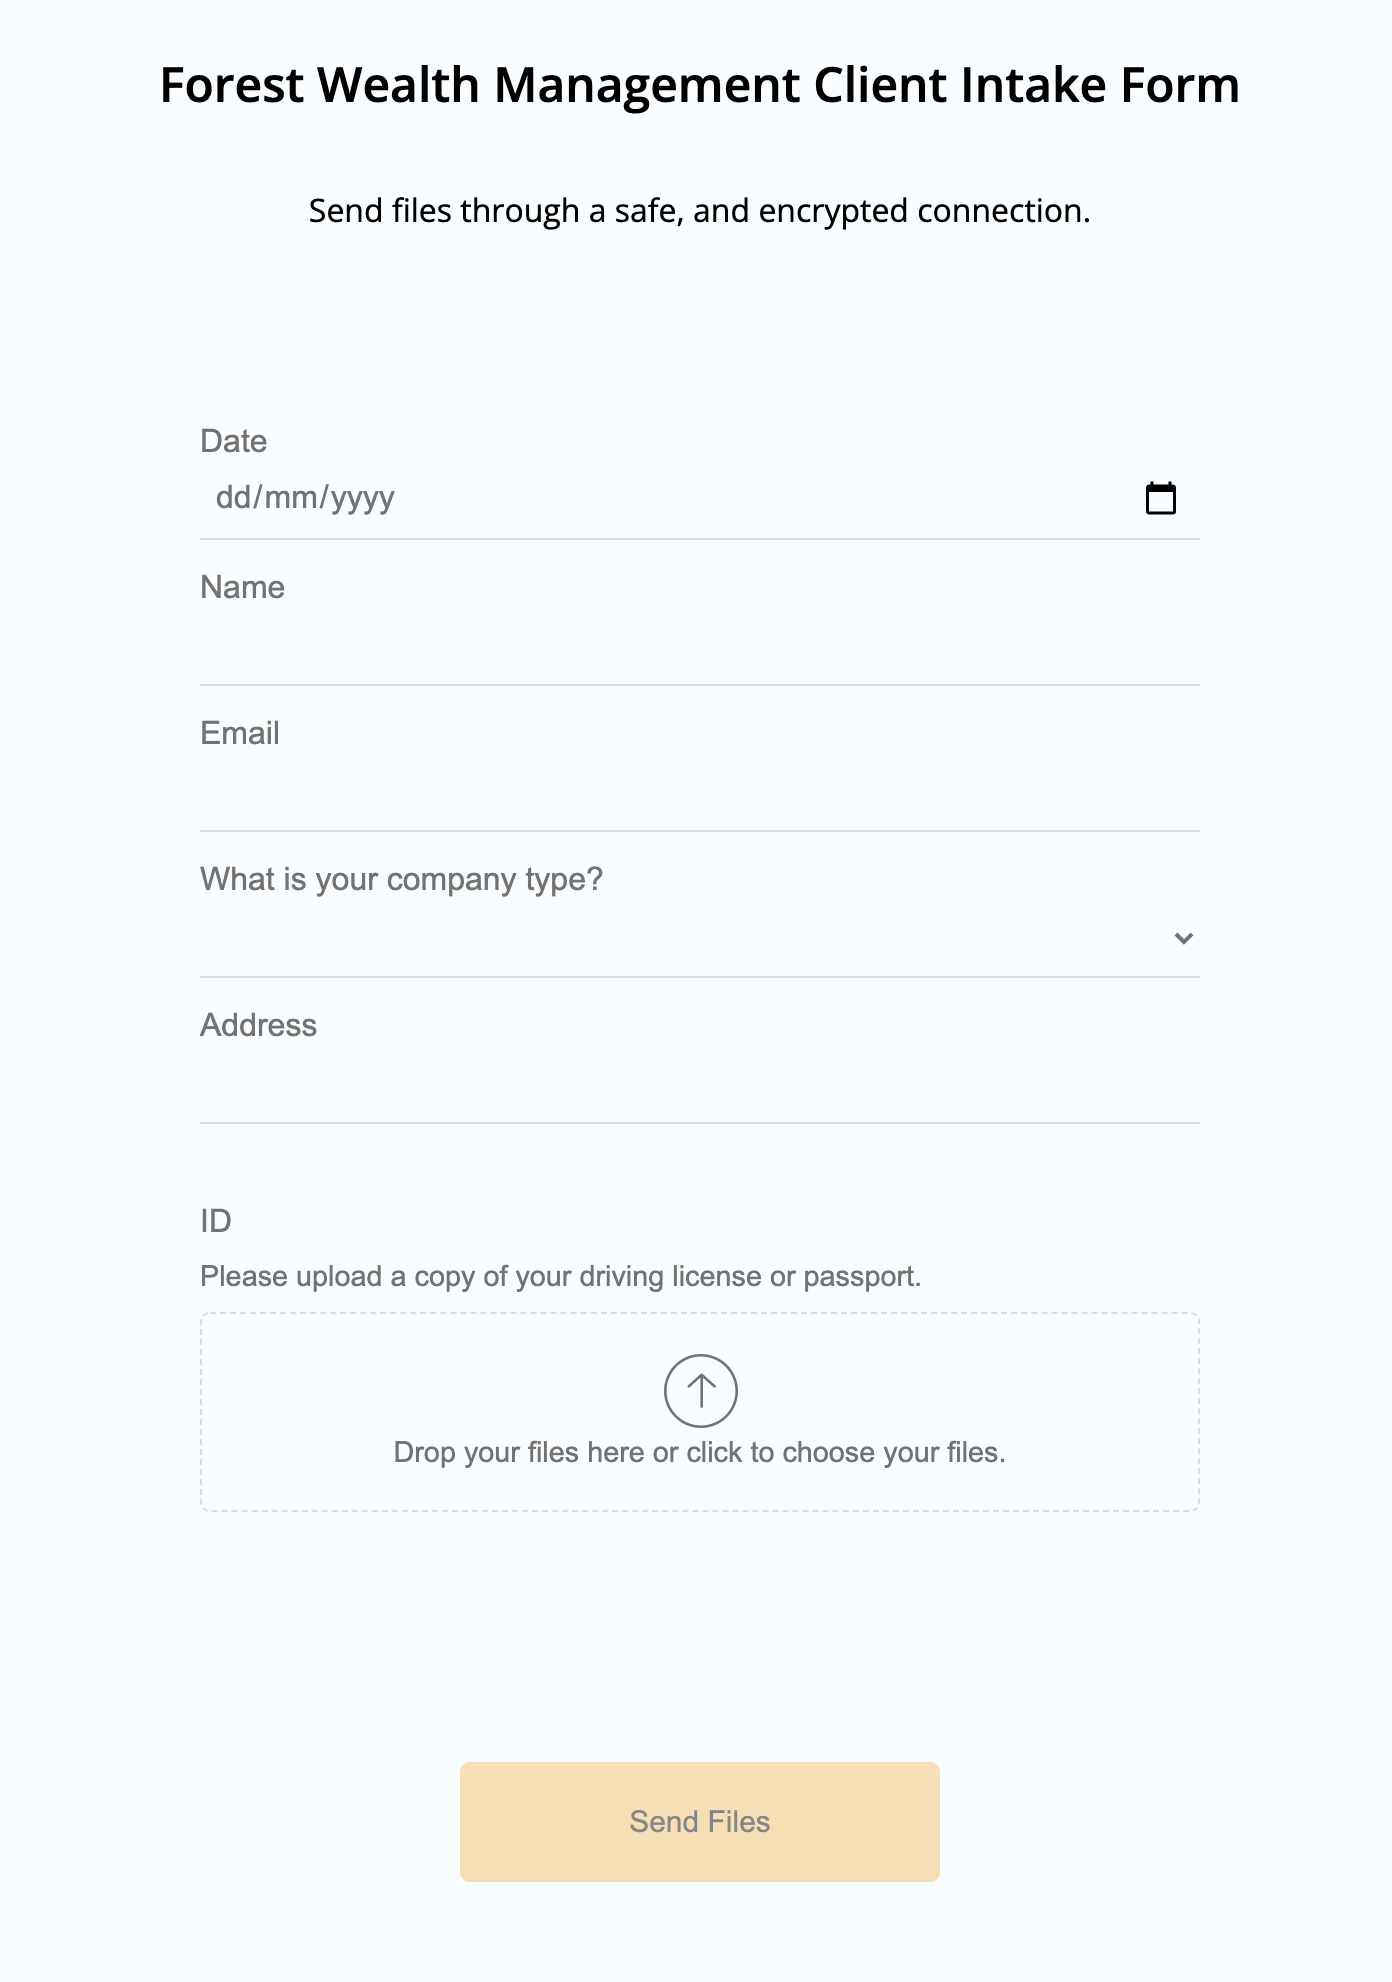
You can therefore dynamically organize client data by name, email, address, customer number (this is a hidden field), and company type.
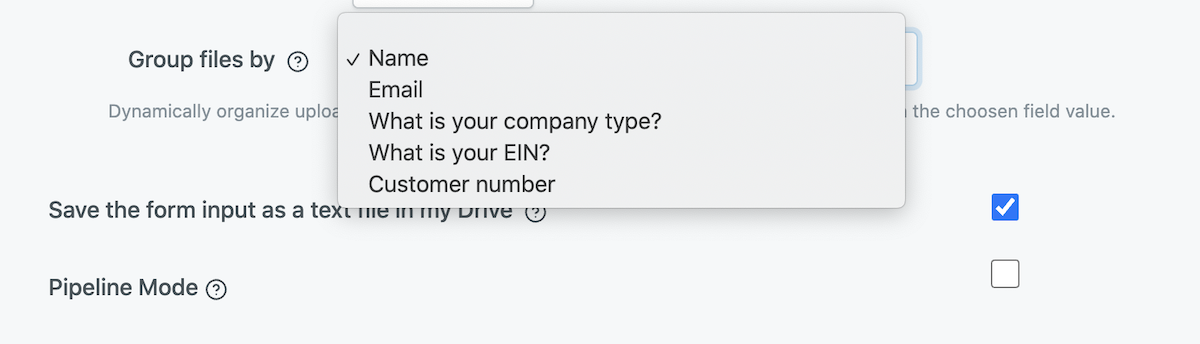
You’ll then have all your client’s files organized in the correct subfolders on your cloud file system. In this example, client data is organized by name.
Files and text content are both automatically uploaded into a client’s subfolder.
What to do if you already organized client data into subfolders
If you already have subfolders for clients, then we’ll automatically send client data to those subfolders.
For example, if you have subfolders in the names of clients, we’ll send files to these existing folders. We won’t create new ones. Just choose a ‘text’ field and label it.
For example, if you have subfolders dividing clients into categories like ‘sole trader’ ‘non-profit’ and ‘Limited liability company’ we’ll automatically send client data to these folders. Just choose a dropdown field and label it.
Any questions?
If you need any help with dynamic file organization or have any suggestions for improving this feature, please get in touch.
Here is our help article on dynamic file organization, which goes into more detail.
